I always want to manage several 3d Printers using several containers with Docker. There are many posts and web pages in the market discussing how to use “Raspberry Pi” with Octoprint. Some, very few, mention how to use Raspberry Pi and Docker to create multiple containers that map to each USB device and then have multiple ports mapped to each octoprint device controlling your 3D Printer.
You don’t need a Raspberry PI for OctoPrint, simply use an old desktop instead.
The goal is to map an IP Address from your server/desktop to a port that handles each 3D printer on your farm to a port.
I own in particular:
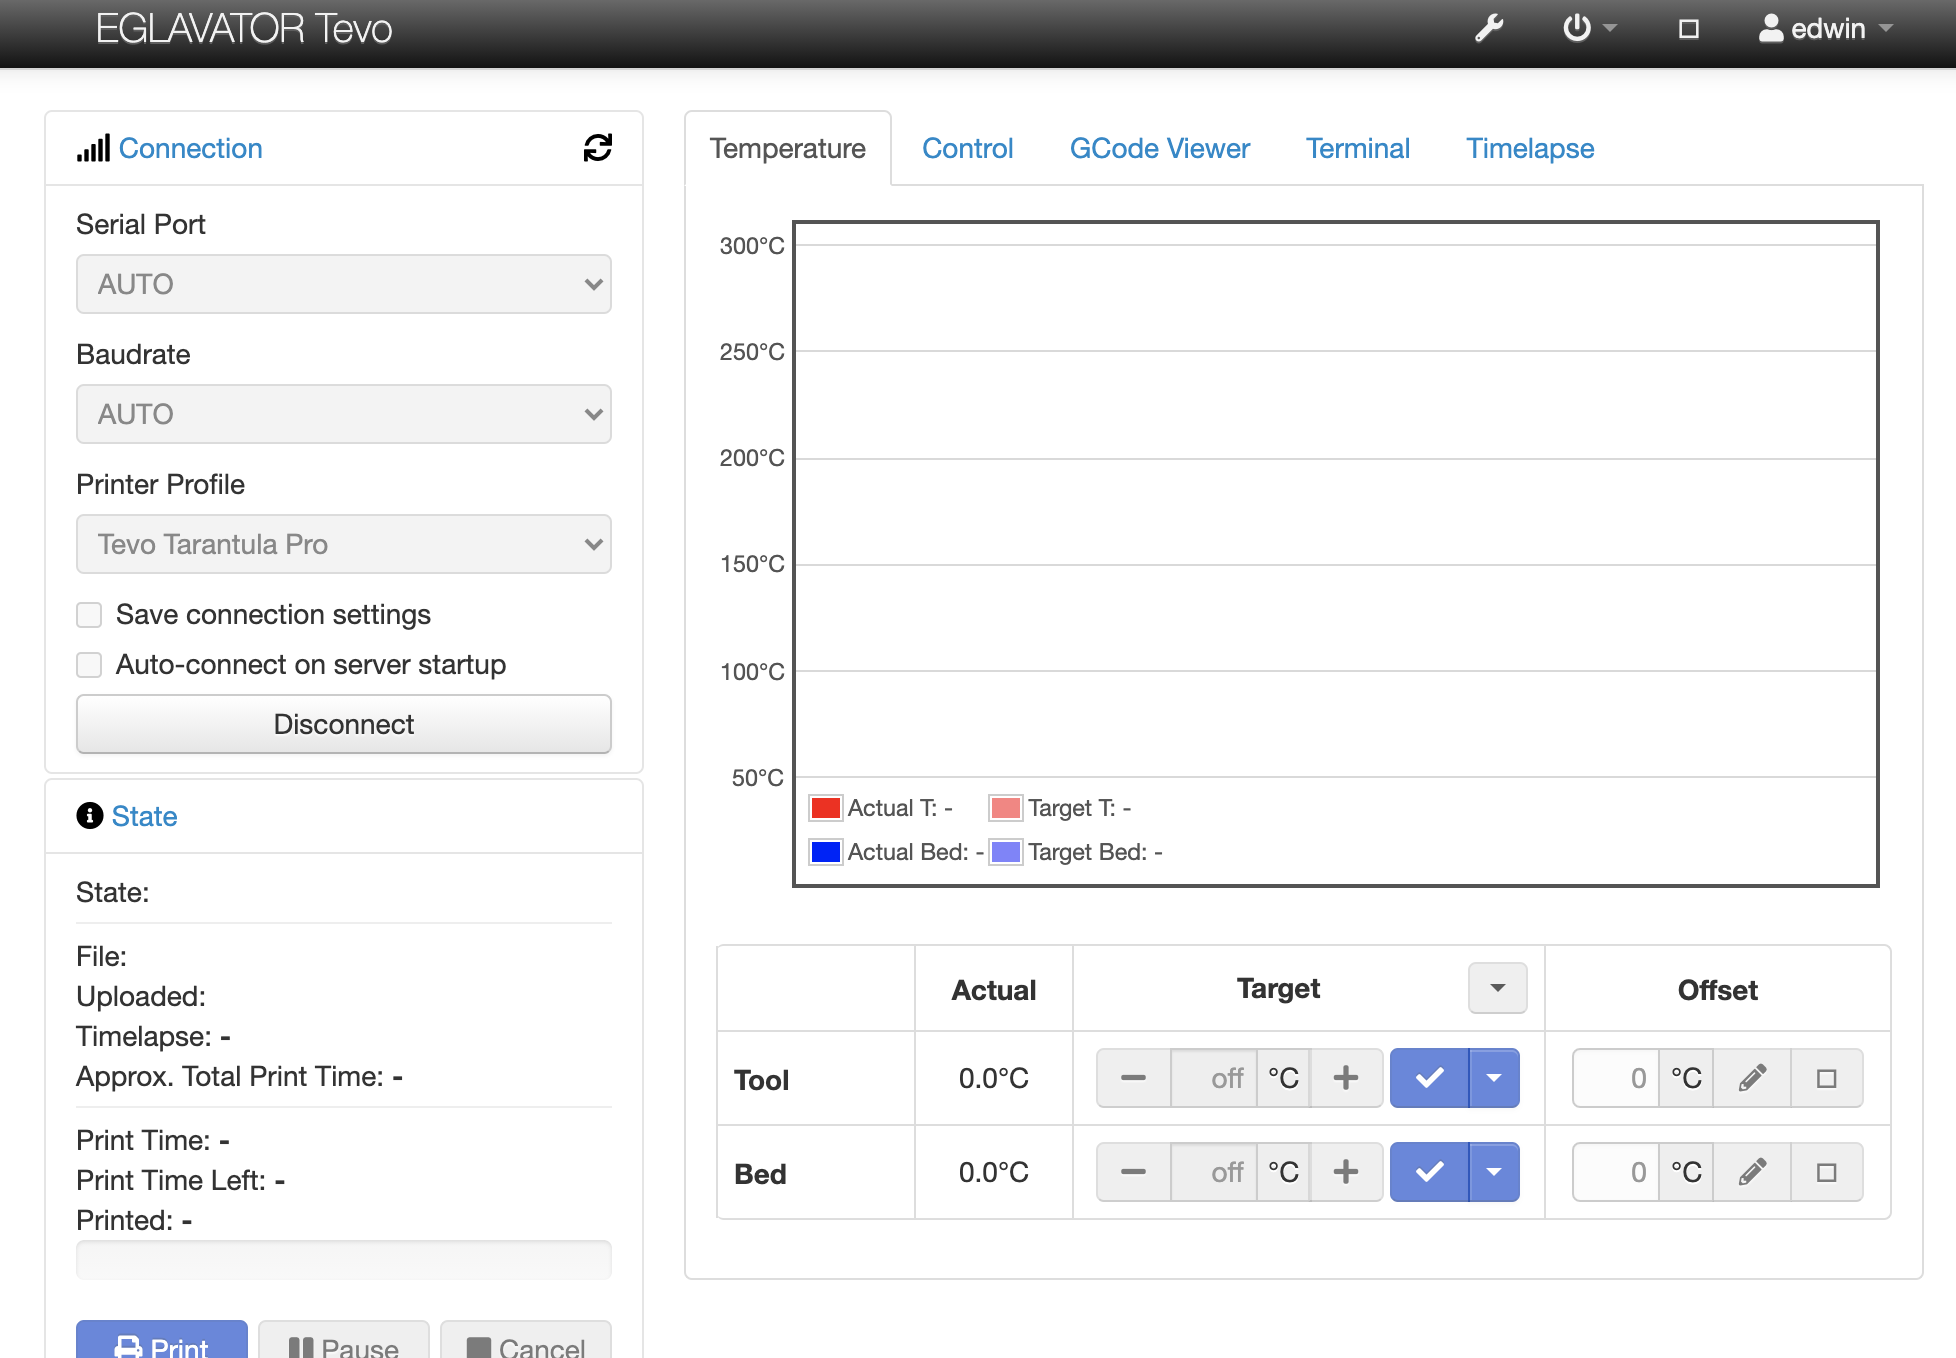
- Tevo Tarantula Pro map it to port 5002
- AnyCubic Mega X map it to port 5001
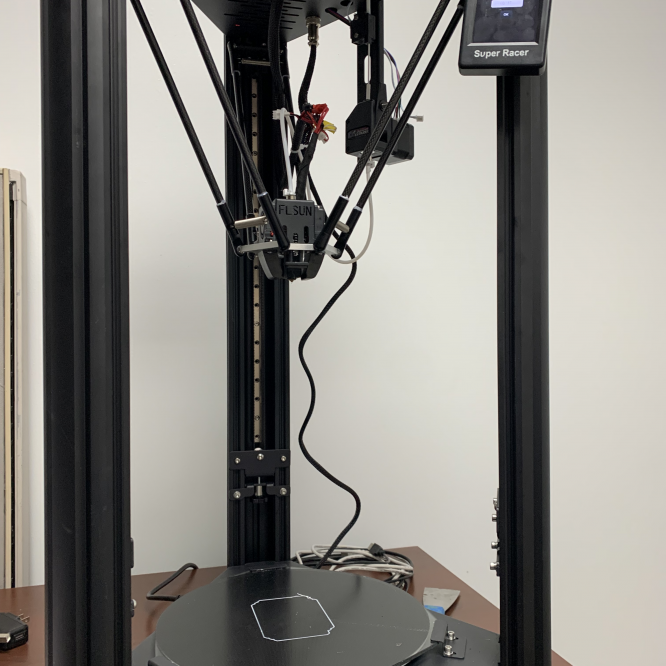
- FLSUN QQ Super Racer map out to port 5000
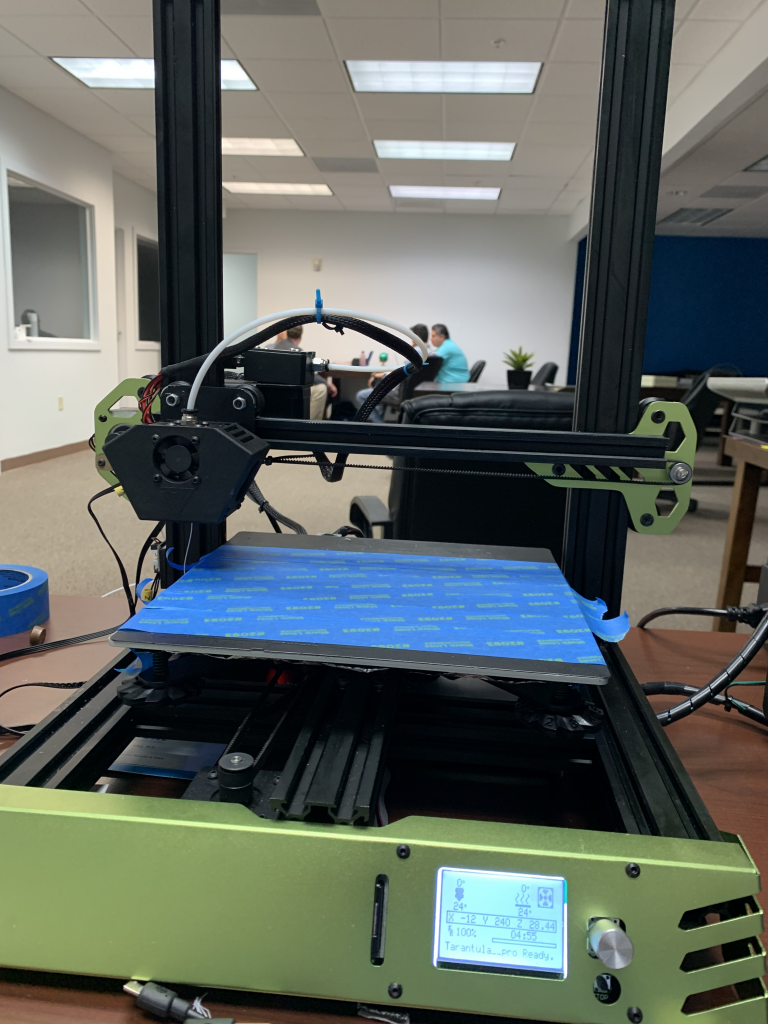 Tevo Tarantula Pro Tevo Tarantula Pro |
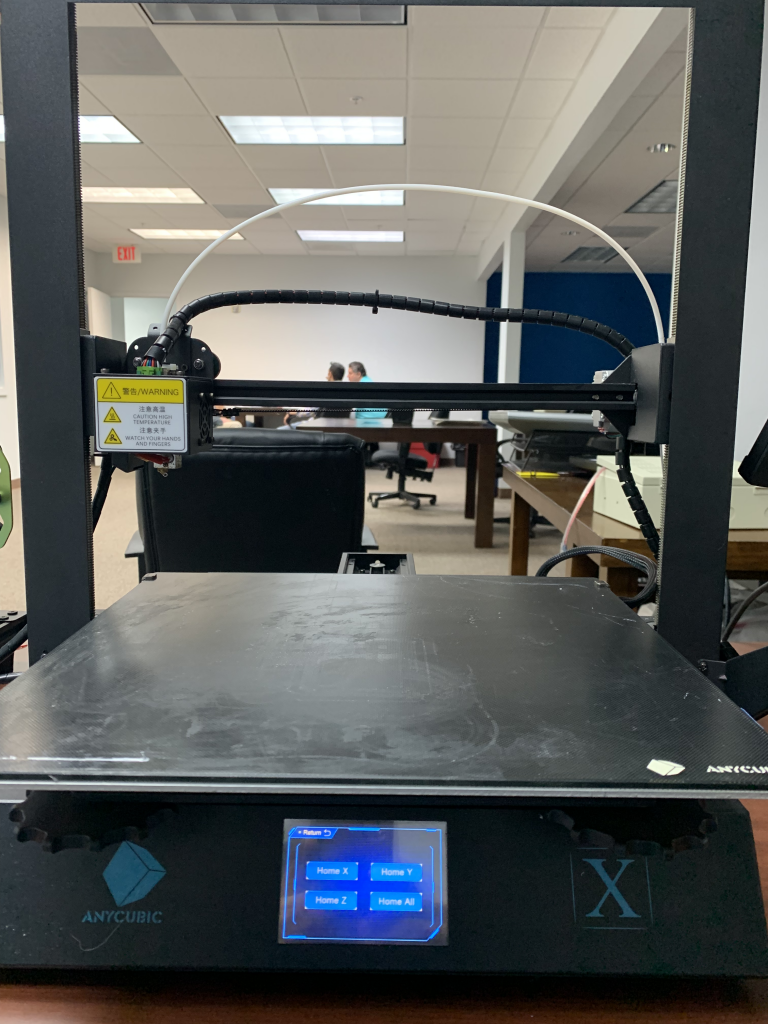 AnyCubic Mega X AnyCubic Mega X |
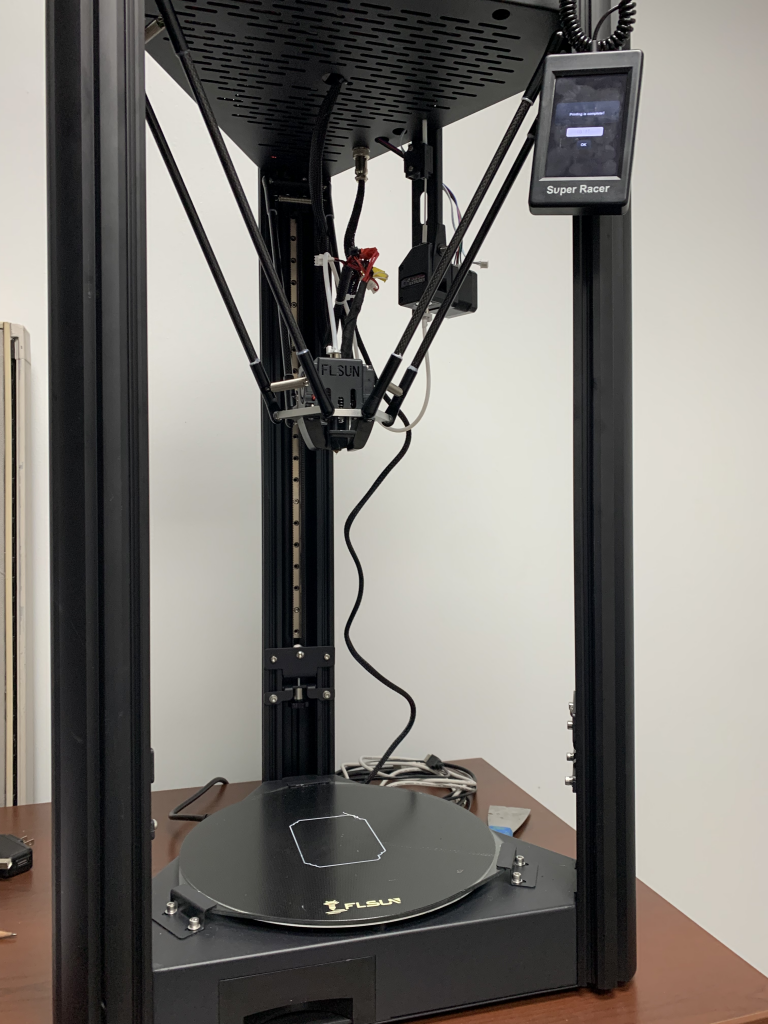 FLSUN Super Racer FLSUN Super Racer |
I had some issues with the FLSUN Super Racer and haven’t had the time to update the firmware, but any other 3D printer would work just fine.
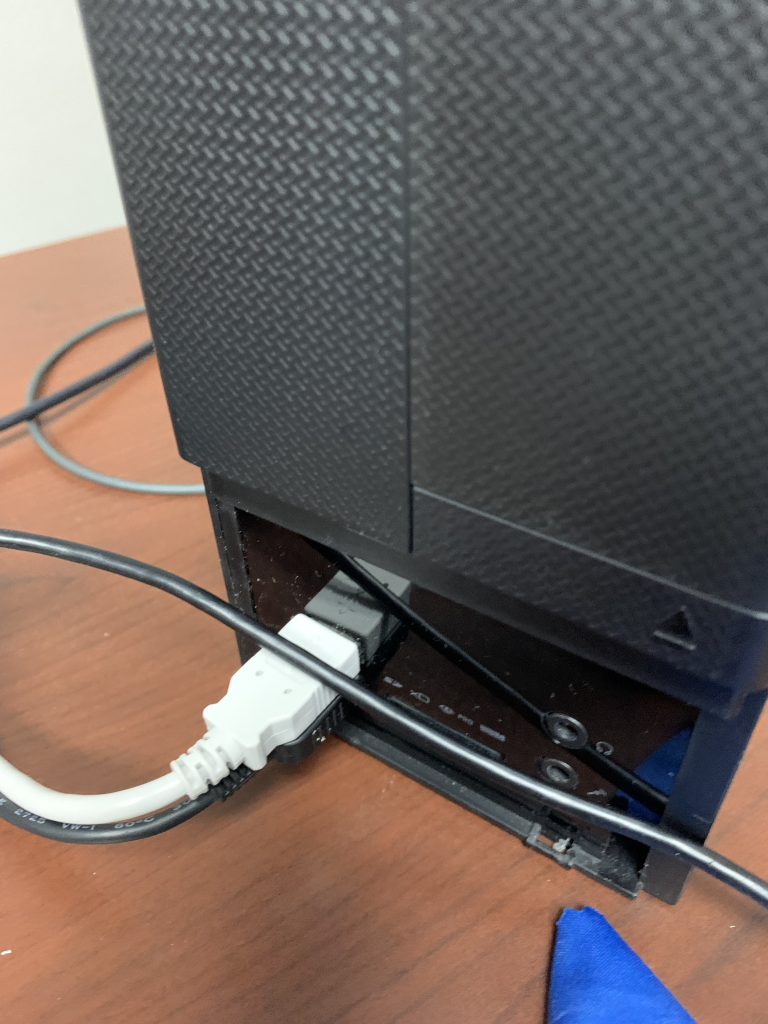
I used them to print, however having to move SD Cards around is difficult, and controlling remotely those printers is a problem. RaspberryPI might be insufficient to handle many printers and use many USB ports, whereas a Dell Server or HP Server may come with 6 or 8 USB ports (USB 2.0 to USB 3.0). Ubuntu 21.04 or similar will be the main operating system to use for this purpose. You will have then a set of mapping between ports internal to docker instances and several interfaces running.
 |
 |
dwin@octoprint:~/docker$ netstat -plant
(Not all processes could be identified, non-owned process info
 will not be shown, you would have to be root to see it all.)
Active Internet connections (servers and established)
Proto Recv-Q Send-Q Local Address           Foreign Address         State       PID/Program name
...
tcp        0      0 0.0.0.0:8000            0.0.0.0:*               LISTEN      -
tcp        0      0 0.0.0.0:8001            0.0.0.0:*               LISTEN      -
tcp        0      0 0.0.0.0:8002            0.0.0.0:*               LISTEN      -
tcp        0      0 0.0.0.0:5000            0.0.0.0:*               LISTEN      -
tcp        0      0 0.0.0.0:5001            0.0.0.0:*               LISTEN      -
tcp        0      0 0.0.0.0:5002            0.0.0.0:*               LISTEN      -
...
You could even use less space and memory than before and 2 CPUs was more than sufficient to handle several massive print jobs and 12-18 hrs of printing without any hiccups.
top - 12:05:09 up 8 days, 23:59, 2 users, load average: 1.80, 1.04, 0.76
Tasks: 259 total, 2 running, 257 sleeping, 0 stopped, 0 zombie
%Cpu0 : 13.5 us, 11.1 sy, 0.0 ni, 75.0 id, 0.3 wa, 0.0 hi, 0.0 si, 0.0 st
%Cpu1 : 8.7 us, 7.4 sy, 0.0 ni, 83.2 id, 0.7 wa, 0.0 hi, 0.0 si, 0.0 st
MiB Mem : 7448.4 total, 693.2 free, 2328.2 used, 4427.0 buff/cache
MiB Swap: 2048.0 total, 2046.0 free, 2.0 used. 4800.3 avail Mem
I decided to use Octoprint and docker to install the printers in my farm using the following configuration and create a similar docker-compose.yaml file. Simply follow docker command to launch your containers and you got yourself a nice setup for 3D printing.
version: '3.6'
services:
### Octoprint
  octoprint1:
         container_name: Octoprint1
         image:  octoprint/octoprint
         hostname: Octoprint1
         restart:  unless-stopped
         ports:
             - 5000:5000
             - 8000:8000
         volumes:
             - /home/edwin/docker/octoprint1:/octoprint1
         environment:
             - ENABLE_MJPG_STREAMER=true
             - MJPEG_STREAMER_INPUT=-n -d /dev/video0:/dev/video0 -r 1280x720 -f 30
         devices:
             - /dev/ttyACM0:/dev/ttyACM0
         #webcam port
             - /dev/video0:/dev/video0

  octoprint2:
         container_name: Octoprint2
         image:  octoprint/octoprint
         hostname: Octoprint2
         restart:  unless-stopped
         ports:
             - 5001:5000
             - 8001:8000
         volumes:
             - /home/edwin/docker/octoprint2:/octoprint2
         environment:
             - ENABLE_MJPG_STREAMER=true
             - MJPEG_STREAMER_INPUT=-n -d /dev/video0:/dev/video1 -r 1280x720 -f 30
         devices:
             - /dev/ttyUSB0:/dev/ttyACM0
         #webcam port
             - /dev/video0:/dev/video1
         #

  octoprint3:
         container_name: Octoprint3
         image:  octoprint/octoprint
         hostname: Octoprint3
         restart:  unless-stopped
         ports:
             - 5002:5000
             - 8002:8000
         volumes:
             - /home/edwin/docker/octoprint3:/octoprint3
         environment:
             - ENABLE_MJPG_STREAMER=true
             - MJPEG_STREAMER_INPUT=-n -d /dev/video0:/dev/video2 -r 1280x720 -f 30
         devices:
             - /dev/ttyUSB1:/dev/ttyACM0
         #webcam port
            - /dev/video0:/dev/video2
Now you can access your printer in a per-port basis, as you can see how the mapping is done between /dev/ttyUSB0 to /dev/ttyACM0 just as you will do with Octoprint and your raspberryPI. and maps all videos as wells to /dev/video0. /dev/video1, /dev/video2 to handle multiple video outputs for your Timalapses.